Railway Employee Self Service(RESS)
Railway Employee Self Service (RESS) typically refers to an online platform or system that allows railway employees to access and manage their personal information, salary details, and Income tax details through a self-service portal.
As on date RESS is operated mainly for salary purpose. An Employee gets access to his/her financial and personal data through this portal. Employee must register into this site to view their Personal details, Salary, PF, Loans and Income Tax Projections and to download Pay Slips.
In this post, guide is provided on following points…
How to use Railway Employee Self Service (RESS) application?
The application can be accessed using any of the following ways:-
1. By clicking “Self Service Portal” link on Home Page of AIMS Portal (https://aims.indianrailways.gov.in)
2. By directly typing following URL in the browser https://aims.indianrailways.gov.in/mAIMS
3. Downloading RESS app from Play store. RESS – Apps on Google Play
4. For iOS/Apple based Devices. https://aims.indianrailways.gov.in/Public/Ress a link will be provided after verification.
A step-by-step instructions for iPhone users are available on this link.
To use this application, an employee has to register first with the application.
How to register on Railway Employee Self Service (RESS) application:-
1. For Registering with Railway Employee Self Service, an employee should ensure the following 2 Points:-
1.1 Aadhaar Number, Mobile number, Date of Birth is updated in IPAS. Permission to update Aadhaar Number and Mobile No is available with Pay Bill Clerks. Aadhaar Number and Date of Birth are being printed in Pay slip. The same can be verified by the employee.
1.2 Since initial password is sent on employee’s mobile, consent is required to be sent to SMS Server by sending an SMS to a designated Number. This is mandatory as per TRAI guidelines. This is one time exercise and subscriber has to send an SMS with content as below to 08860622020.

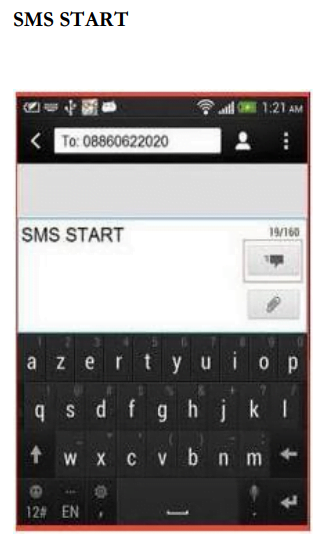
Please note that without subscribing SMS alert as above, it will not be possible to get initial password on your mobile and mobile application cannot be used.
2. After registering with SMS alerts as above, please open the following link: https://aims.indianrailways.gov.in/mAIMS.
3. This link is also provided on home page of AIMS Portal https://aims.indianrailways.gov.in.
4. A page will open as below:-

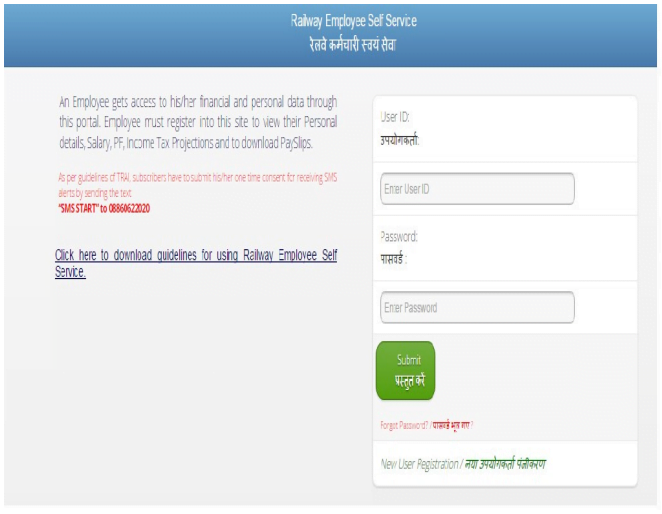
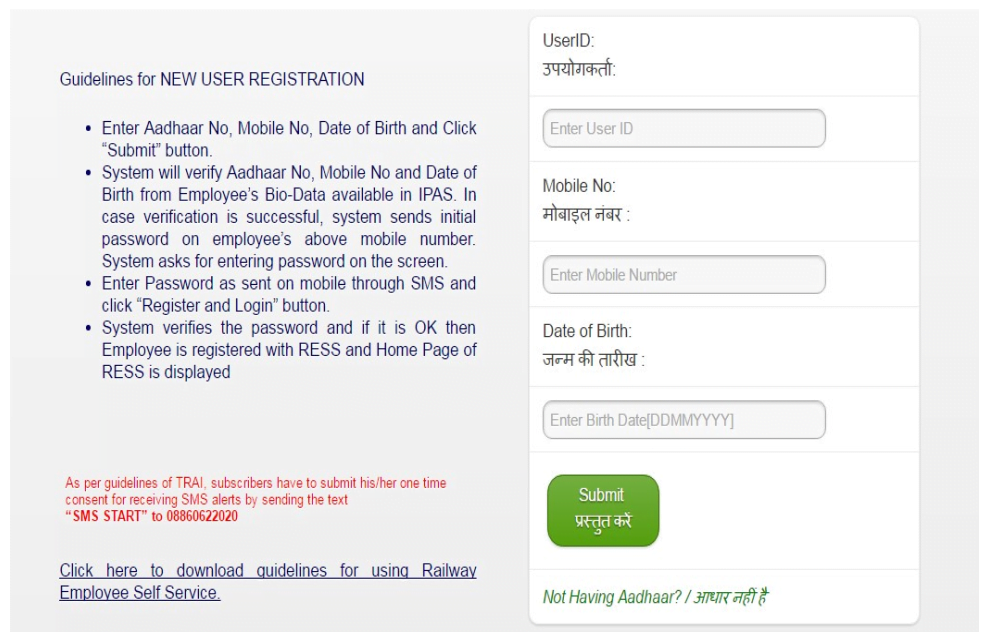
5. Click on “New User Registration”. A screen (as below) asking for Aadhaar No, Mobile No and Date of Birth will appear.

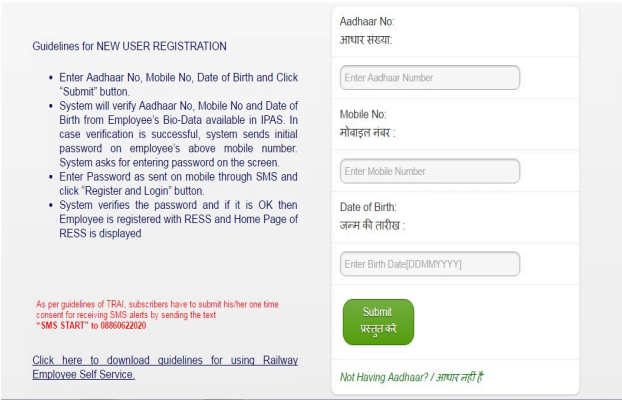
Here, enter your 12 digits Aadhar Number, valid Mobile Number (valid Aadhaar number & mobile number present with your bio-data) and Birth date, and then Click on Submit button. System will verify Aadhaar no., mobile no., date of birth from Employee’s bio-data available in IPAS. In case verification is successful, following screen will come

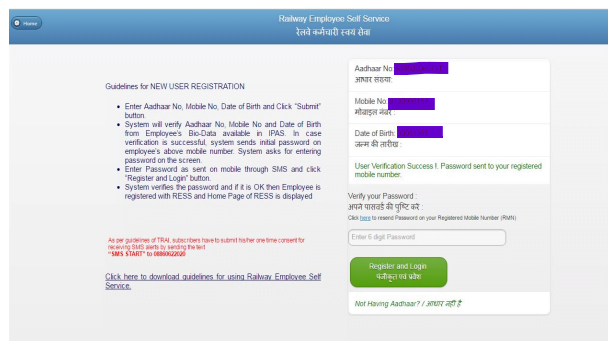
Now system sends initial password on employee’s above mobile number. System will ask for entering password on the screen.
Enter password as sent on mobile number through SMS and click “Register and Login” Button.
System verifies the password and if it is OK then Employee is registered with RESS and Home page of RESS will be displayed.

6. If Aadhaar is not available:- If an employee does not have Aadhaar No updated in Bio-data then Registration will be done based on his/her Employee Number. Click on “Not Having Aadhaar”. A screen will appear like below


Here, enter your 11 digit Employee Number, valid Mobile Number (valid mobile number present in your bio-data) and Birth date, and then Click on Submit button. System will verify Employee Number., mobile no., date of birth from Employee’s biodata available in IPAS.
In case verification is successful, system sends initial password on employee’s above mobile number. System will ask for entering password on the screen. Enter password as sent on mobile number through SMS and click “Register and Login” Button. System verifies the password and if it is OK then Employee is registered with RESS and Home page of RESS will be displayed.
Already Registered with Railway Employee Self Service (RESS):-
1. Open RESS by clicking https://aims.indianrailways.gov.in/mAIMS. An Employee can add this link in Bookmark or make it Shortcut so that the same is accessed easily.
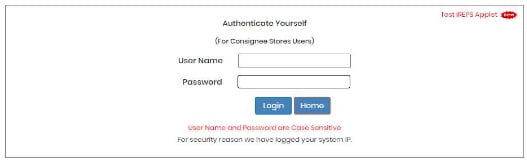
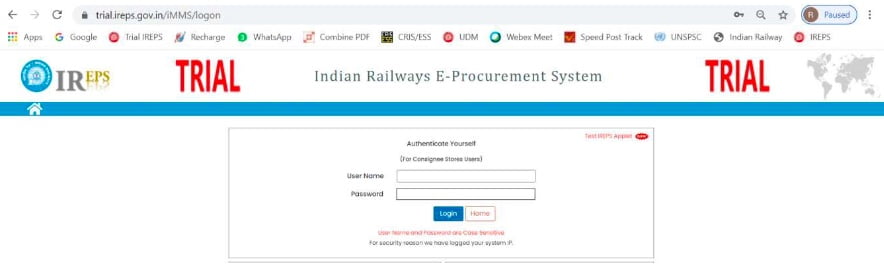
2. System will ask for User ID and Password as below.

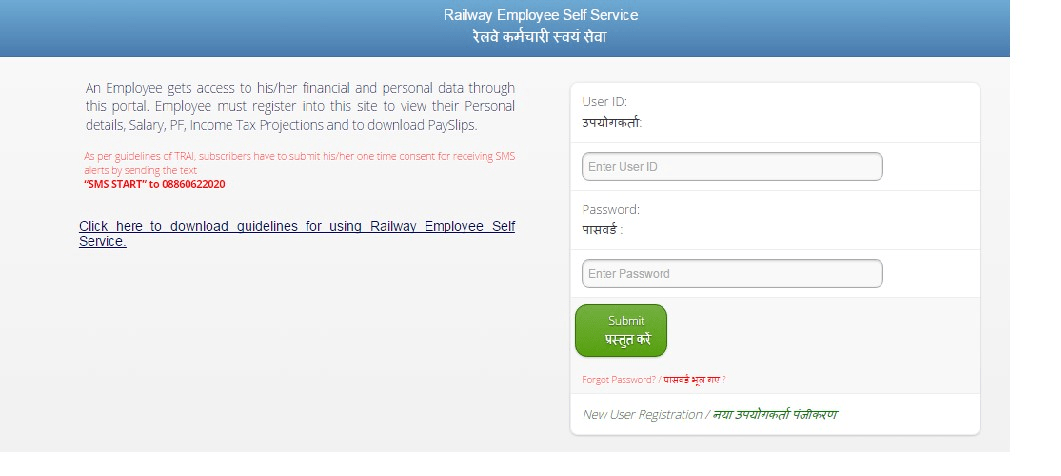
Enter User-ID, Password and click “Submit” button. System will open Home Page.
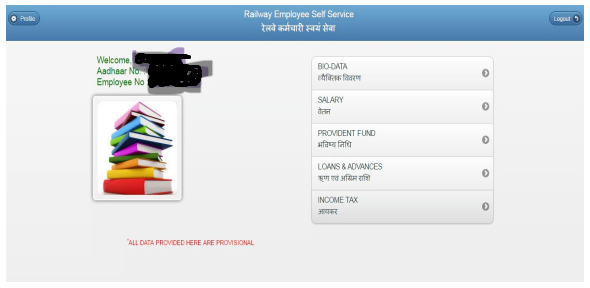
Home Page will show the data of the Employee:-
i. Bio-Data
ii. Salary
iii. Provident Fund,
iv. Loans &Advances
v. Income Tax
3.1 Bio-Data:- Click on the Bio Data then showing the page will open as below:-

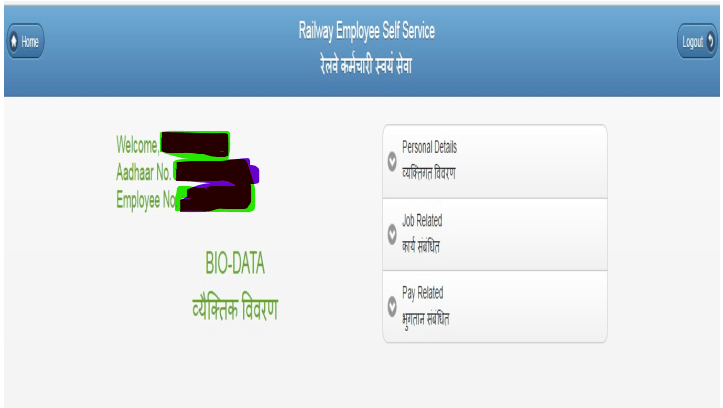
1. Personal Details
2. Job Related
3. Pay Related
These are the 3 points of showing after the click on the Bio-Data
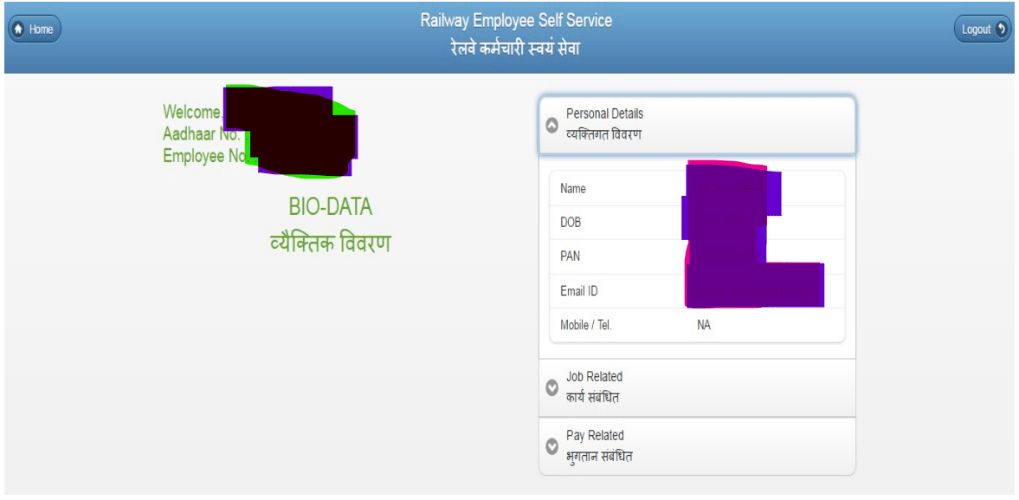
i. Personal Details:-Click on the Personal Details , which will show personal data of the Employee like Name, Date of Birth, Pan No., Email id, Mobile/Tel.
A Page will open as below:-

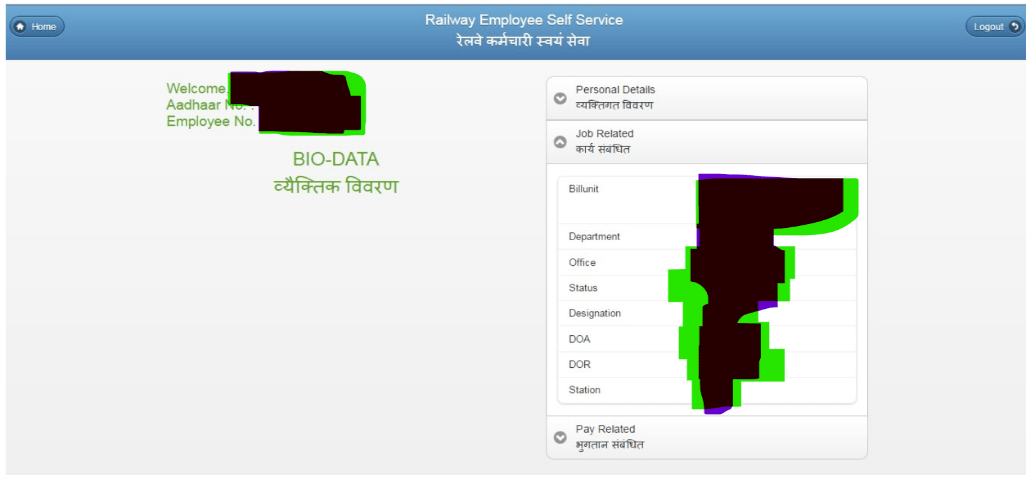
ii. Job Related:-Click on the Job Related and Job related have the Job related data of the employee like Bill unit, Department, office, Status, Designation, Date of Appointment (DOA), Date of Retirement (DOR), Station.
A page will open as below:-

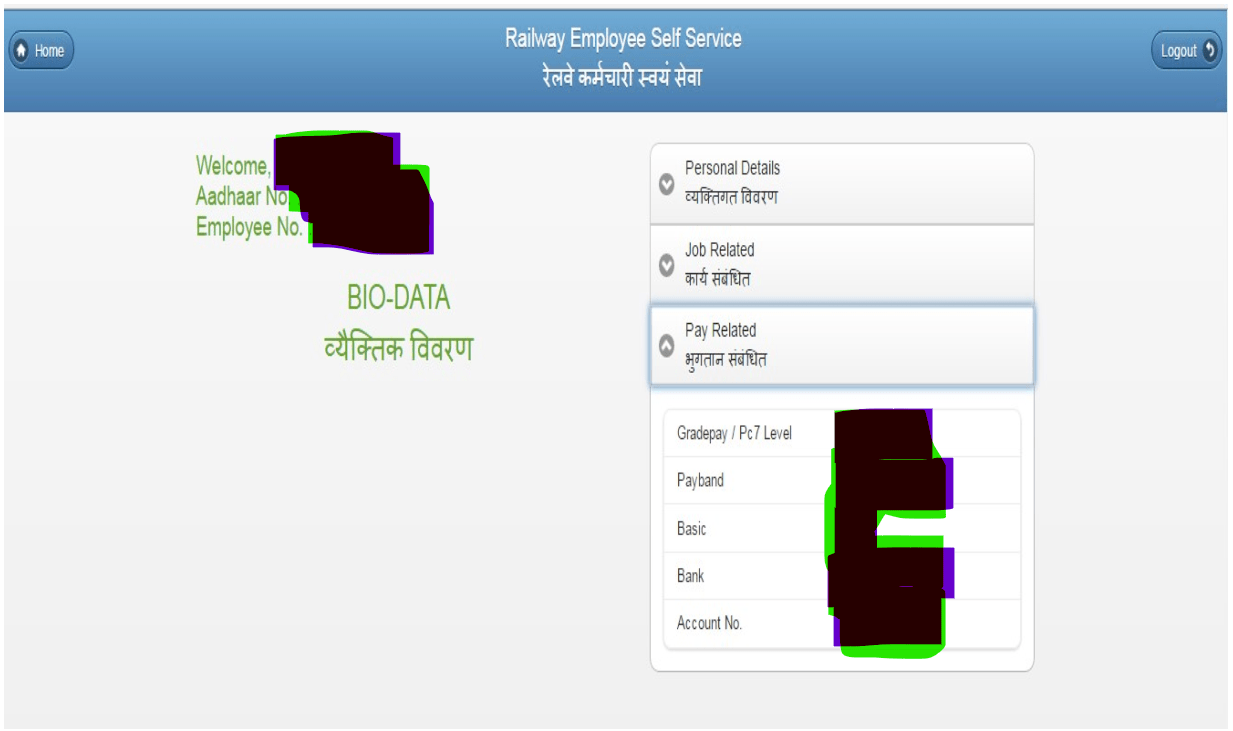
iii. Pay Related:-Click on the Pay Related and Pay related have the Pay related data of the employee like Grade pay/Pc 7Level , Pay band, Basic, Bank, Account No.
A Page will open as below:-

How to check Railway Salary Slip
Railway employees can check their salaries in two ways : –
i. Monthly Salary
ii. Yearly Summary
i. Salary:- Click on the Salary and enter the salary for pay period.
A Page will open as below:-

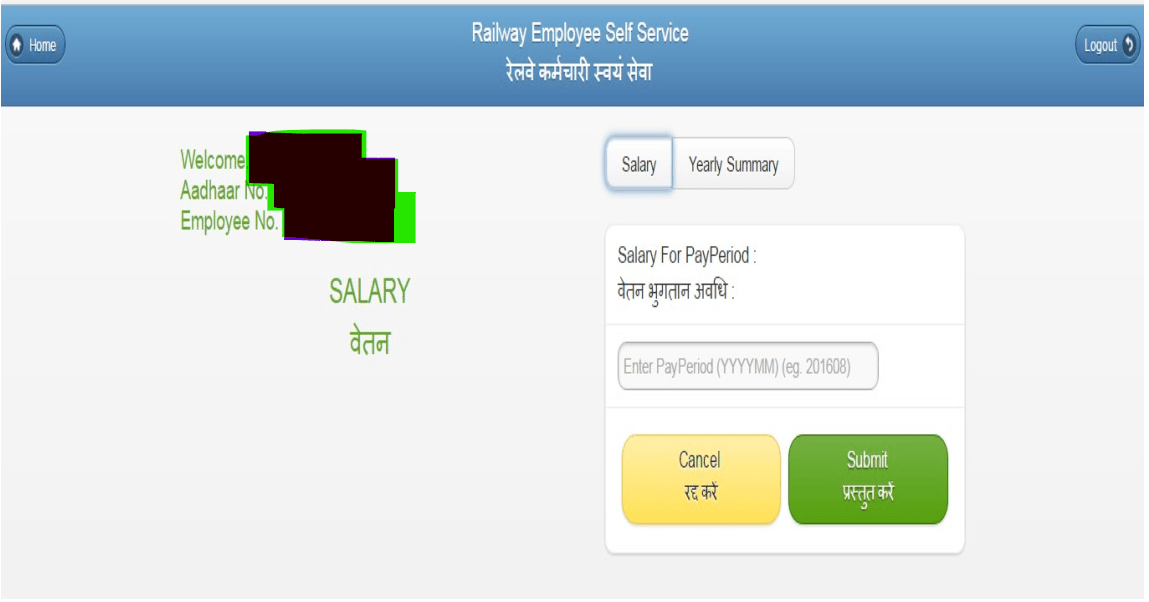
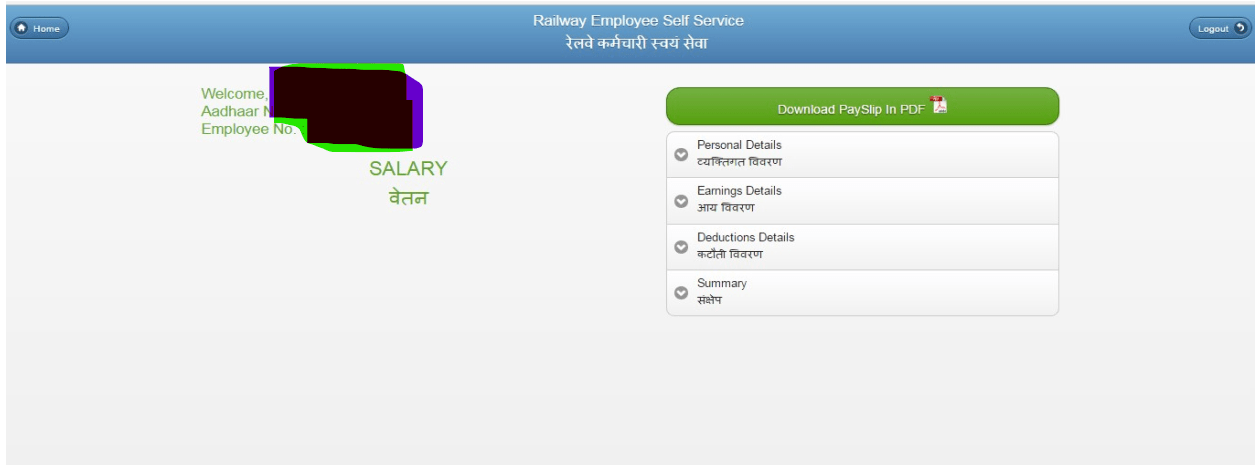
- Enter the Salary for Pay Period after that click on Submit button and click on the option of download Pay slip in PDF.
- User can download their own Pay Slip (Monthly and Yearly) in PDF Format.
A Page will open as below:-

ii. Yearly Summary:- Click on the Yearly Summary. A Page will open as below:-

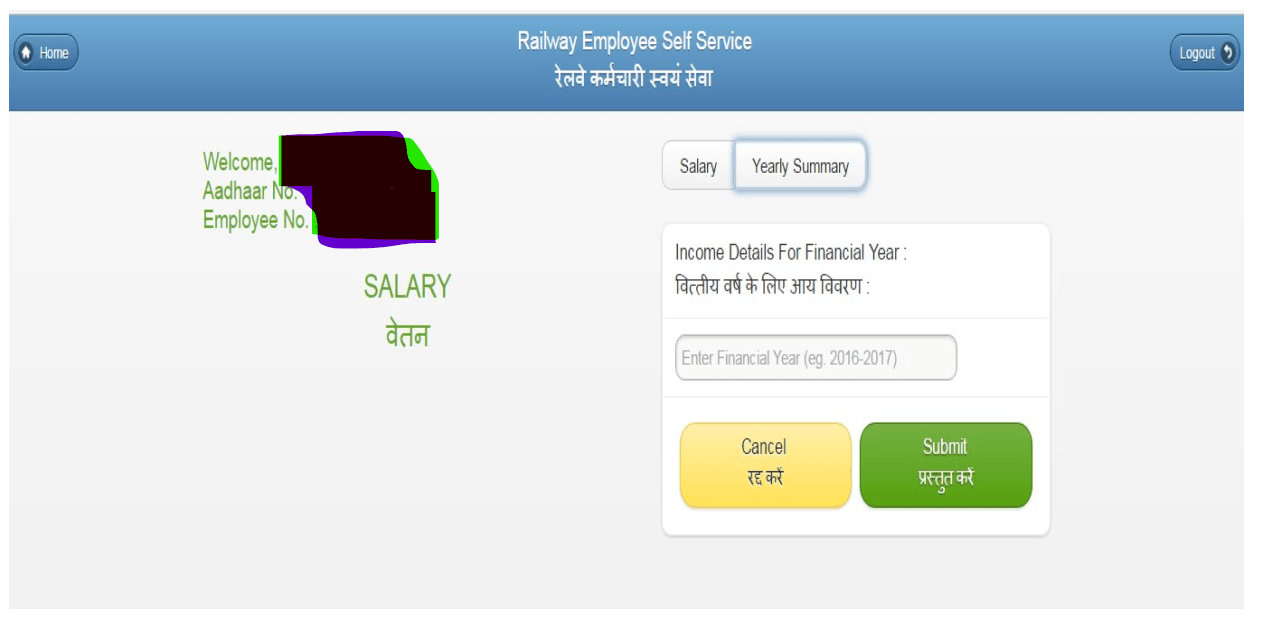
Enter financial year and click Submit button . System will show Yearly Summary.
How to check NPS / PF
At home page Click on the Provident Fund. For employee having joining date after 2004 or who opt for NPS during joining or having PRAN number instead of PF number NPS option will be shown at the home page of application/website. A Page will open as below:-

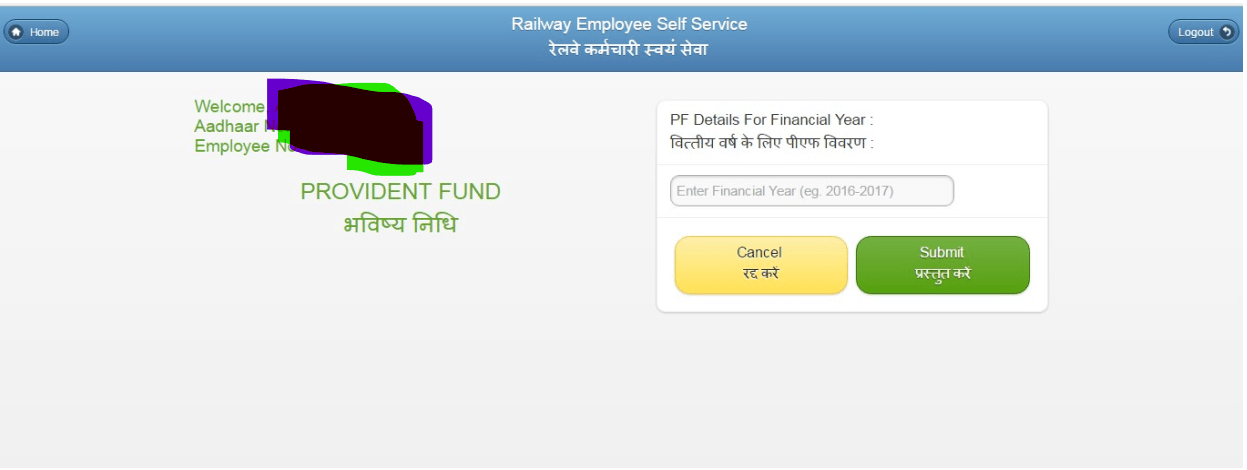
Enter financial year and click Submit button. System will show PF Details/ NPS contribution as per their need.
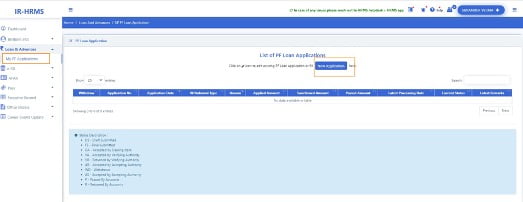
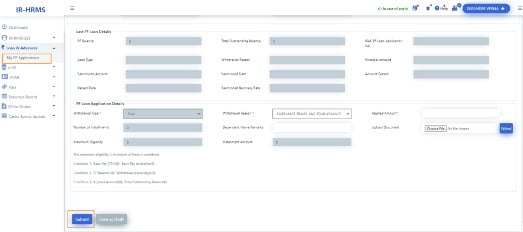
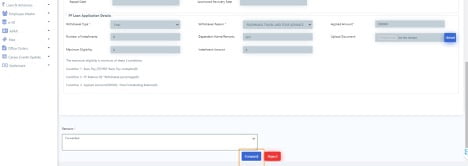
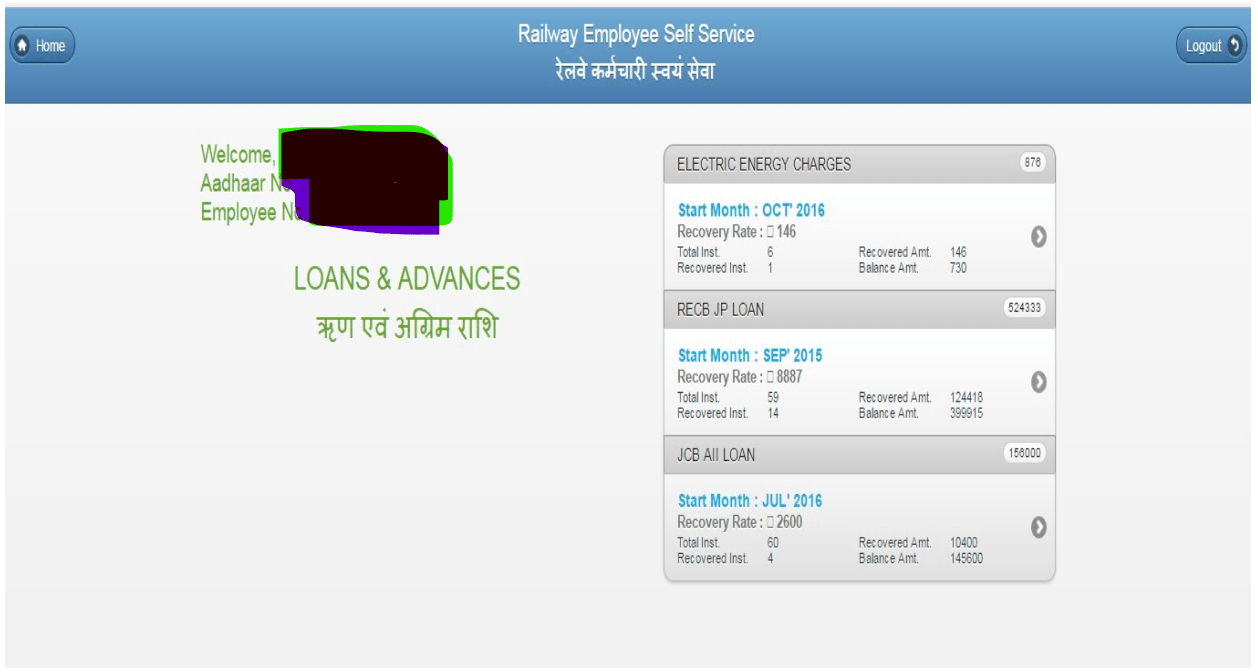
How to check LOAN & Advances details of the Employee:-
A Page will open as below:-

How to check Income Tax Details for Financial Year

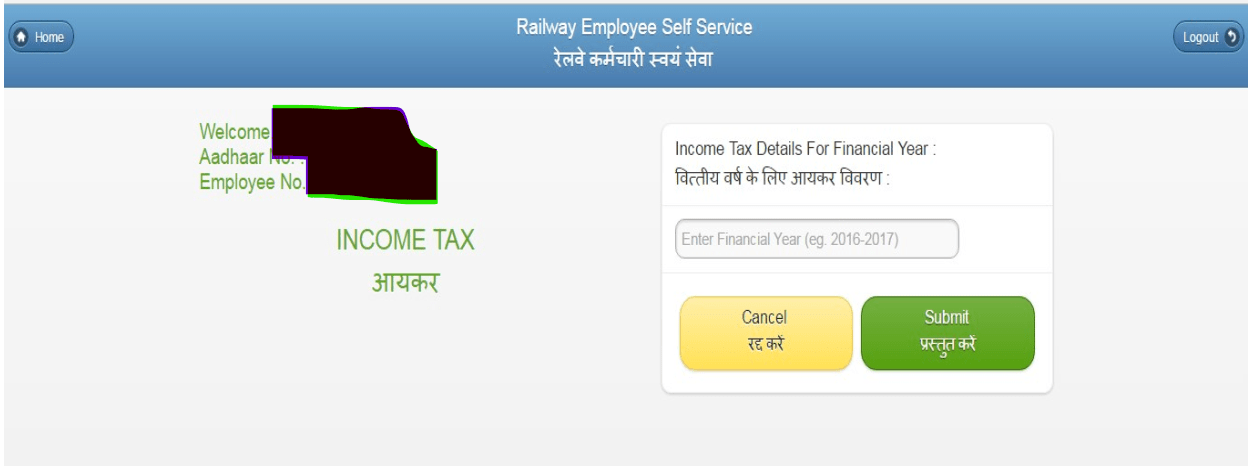
- Enter Financial Year and click on submit button. A Page will Open as below:-

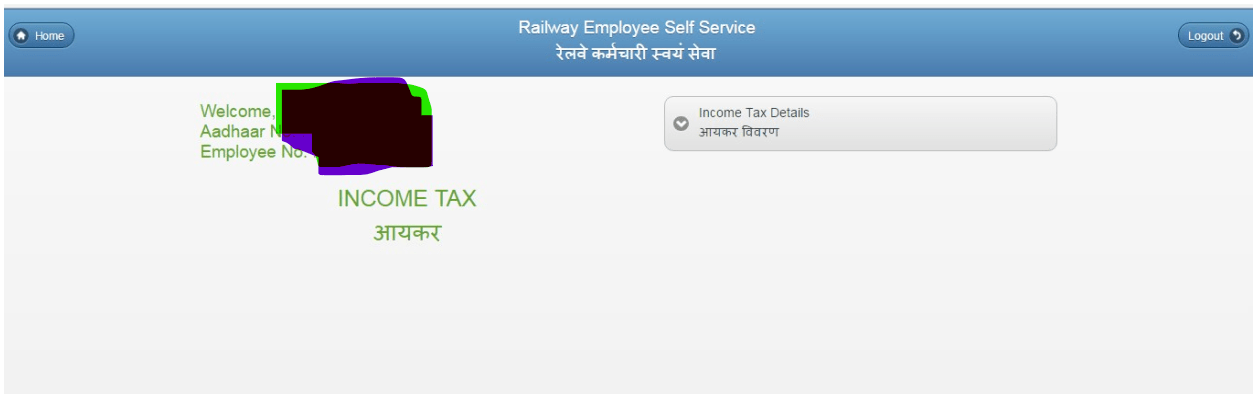
A page will open as below:-

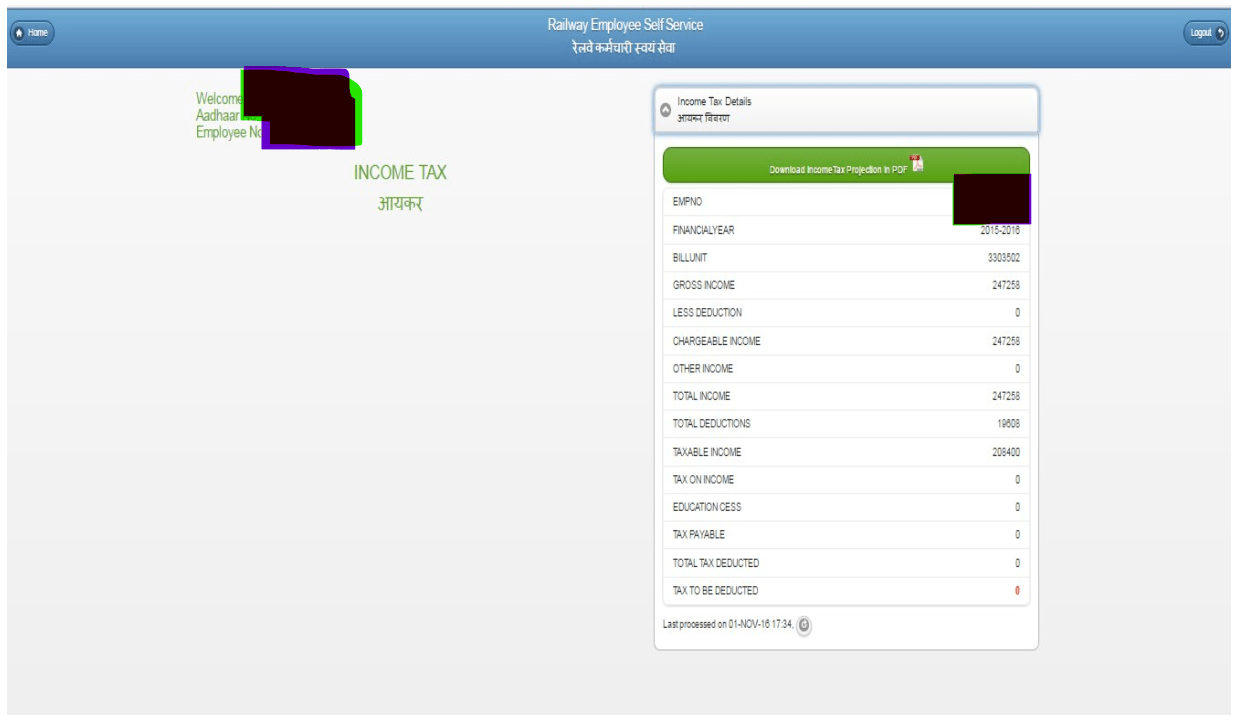
After that click on the option of download Income Tax Projection in PDF.
How to Update Personal details/Profile
At Home page of RESS website/App Application displays Profile Button on the left side. Railway employees need to Click on the button, following which the screen will appear: –

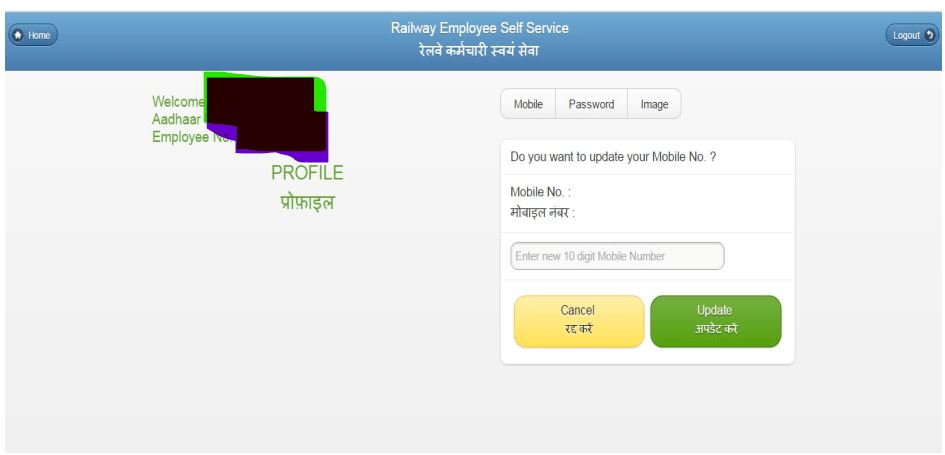
Railway employee has three Options to update which will be shown on the Profile Page:-
i. Mobile
ii. Password
iii. Image
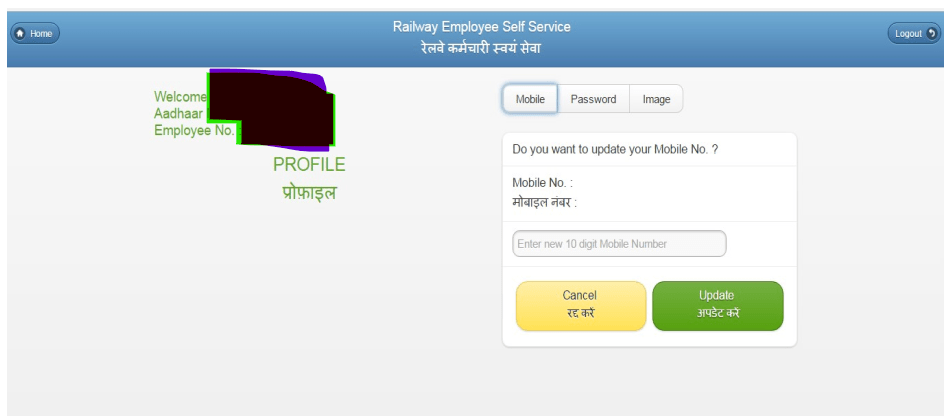
Mobile:- If you want to update your mobile number then click on the mobile option and enter the new 10 digit mobile number and click on the update button.
A page will open as below:-

Password:- If you want to update your password then click on the password option and enter the new password & confirm new password (Minimum 6 character) and click on the update button.
A page will open as below:-

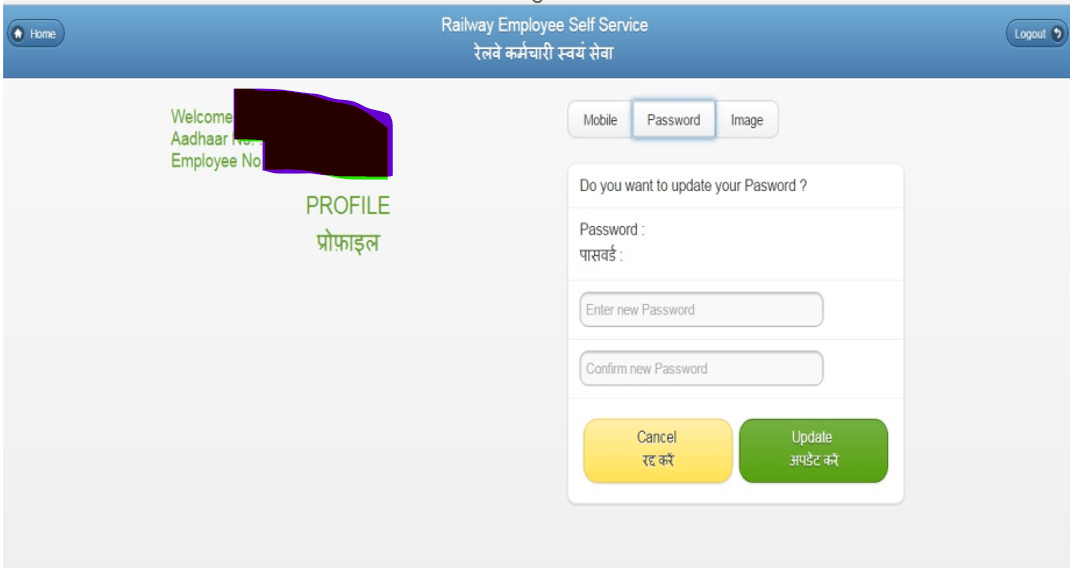
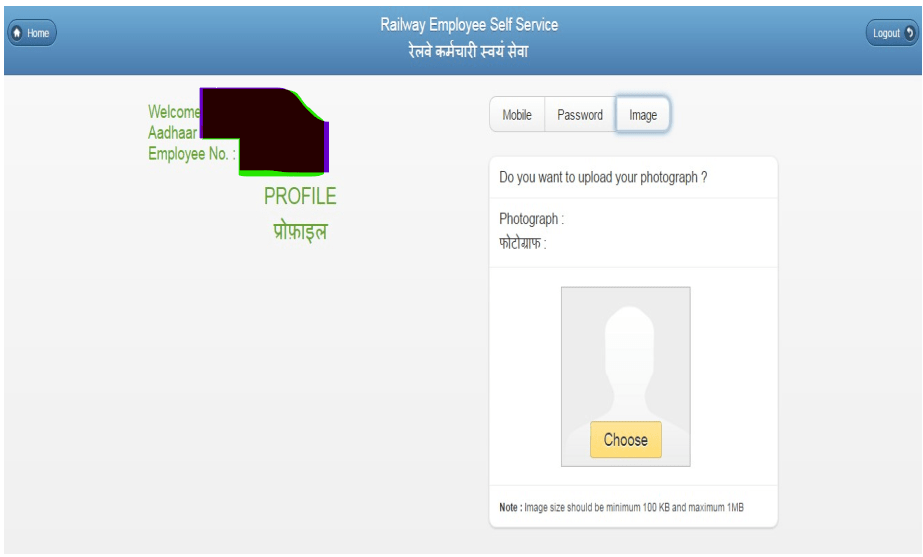
Image:- If you want to upload your photograph then click on the image and choose the photograph from the System.
A page will open as below:-

How to Reset Password/what to do in case of forgotten Password
1. Click on “Forgot Password?” link on Login Page.
2. System will ask for User ID, Mobile No and Date of Birth.
3. Enter above and click “Submit” button.
4. System will verify detail with Already Registered Data, regenerate Password and send to Registered Mobile No.
5. User will be asked to enter password as sent on Mobile No.
6. After verification, it will set New Password and Welcome Page of the application will appear.

USEFUL LINKS